Stop Car Rust Early: Repair, Seal & Protect
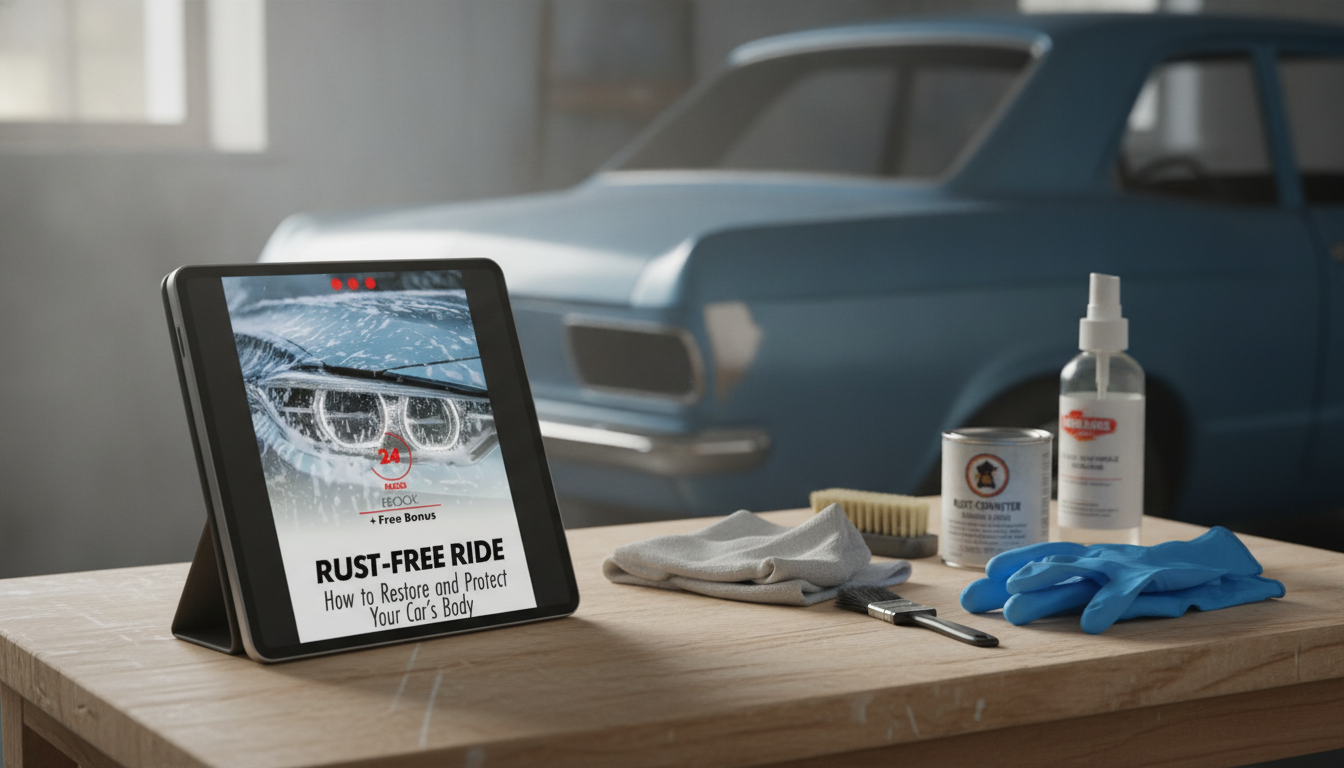
Rust-Free Ride: Restore and Protect Your Car’s Body
Rust starts small—chips, scratches, and trapped moisture—then spreads under paint and along seams. The good news is that most corrosion can be slowed or stopped when it’s caught early and repaired with a clean, disciplined process. Below is a practical path to assess what you’re seeing, remove rust safely, and lock in protection so your car’s body stays solid and looks clean through rain, road salt, and everyday wear.
Spot Rust Early: Where It Hides and How It Spreads
Rust usually begins where paint gets compromised and water lingers. Pay extra attention to wheel arches, rocker panels, door bottoms, trunk seams, hood edges, windshield channels, and underbody pinch welds. The chemistry is simple: exposed metal + moisture + oxygen. Add road salt and the electrochemical reaction accelerates, turning a tiny chip into a creeping bloom under the clear coat.
Not all rust is the same. Surface rust shows as orange staining or light roughness. Scale rust looks thicker and flaky—often on the underbody—indicating metal loss may already be underway. Perforation is the worst case: holes, soft spots, or crumbling edges that compromise the panel.
A quick inspection routine helps you catch issues before they spread: wash thoroughly, dry completely, use a bright light at low angles, and look for bubbling paint near seams. Run a fingertip over suspicious areas for roughness, and peek under trim and rubber seals where moisture hides.
Stop DIY and consider a body shop when rust reaches structural areas, suspension mounting points, or when perforation is widespread. Those repairs can require welding, measuring, and safety-critical judgment.
| What you see | What it usually means | Typical next step |
|---|---|---|
| Orange staining or light roughness on paint | Surface oxidation without deep pitting | Decontaminate, lightly abrade, treat, and seal |
| Bubbling paint or flaking edges near seams | Rust under paint; likely pitting | Strip to metal around the area, treat/prime, repaint |
| Thick scaly layers underneath | Advanced rust; metal loss likely | Mechanical removal, possible patching; stronger coatings needed |
| Holes or soft metal | Perforation/structural compromise | Cut/replace metal or professional repair |
Tools, Materials, and Safety Setup
Rust repair is a mix of dust, chemicals, and coatings—so safety is not optional. Use gloves, eye protection, and a respirator when sanding or spraying. Work in good ventilation and keep ignition sources away from solvents. If you’re using coatings or cleaners with strong fumes, review VOC handling and indoor air considerations from the EPA.
Basic tools cover most small-to-medium jobs: microfiber towels, degreaser, masking tape, sanding blocks, wire brushes, drill attachments, and clean rags. Abrasive choice matters—use coarser grits only where you must remove failing paint or heavy oxidation, then step down to refine scratches so they don’t “print through” later.
Chemical options typically fall into two camps: rust remover (dissolves oxidation) and rust converter (stabilizes remaining rust into a paintable layer). After treatment, you’ll need a compatible primer (etch or epoxy as the system requires), touch-up paint, and clear coat. For hidden cavities and underbody seams, cavity wax and durable barrier coatings do the long-term heavy lifting. For deeper technical background on corrosion and materials behavior, SAE International is a solid reference library.
Step-by-Step: Removing Rust on Painted Panels
1) Wash and decontaminate
Start with a thorough wash to remove salt film, road grime, tar, and embedded debris. A clean surface lets abrasives cut predictably and prevents you from grinding contamination into the paint.
2) Mask and control the work zone
Mask surrounding paint and trim so you don’t accidentally haze good clear coat. Keep the sanded area as small as practical, but large enough to remove all compromised paint around the rust.
3) Feather the edges and expose stable material
4) Treat remaining rust and dry fully
5) Prime correctly, then repaint and blend
6) Refine gently after curing
Underbody, Rockers, and Seams: Protecting the Places That Rust First
For general owner guidance and maintenance topics, the NHTSA is a helpful starting point for safety-oriented vehicle care resources.
Long-Term Maintenance: Keeping Rust From Coming Back
A Clear Plan to Follow: The Rust-Free Ride eBook
If you want a repeatable process you can follow without second-guessing each step, Rust-Free Ride: How to Restore and Protect Your Car’s Body – Ultimate eBook Guide for Rust Removal & Protection organizes the work into assessment, prep, removal, treatment, coating, and upkeep. It’s especially useful for owners in road-salt regions who need consistent protection—not just a one-time cleanup.
For detailing and light cleanup tasks during inspection (like wiping residue after degreasing or polishing), a soft, clean cotton cloth helps prevent scratching. Some owners repurpose soft tees as shop rags; if you prefer a dedicated, high-quality option, consider a smooth cotton top like the Valentino Garavani Cotton T-Shirt with Monogram and Ribbed Collar for gentle wiping and buffing tasks (kept separate from dirty jobs like sanding dust or underbody grime).
FAQ
Can rust be stopped without repainting the whole panel?
Yes, if it’s early-stage: remove or neutralize the rust, prime correctly, then blend paint and clear as needed. If the panel has widespread bubbling or rust traveling under the paint, larger refinishing is often required to prevent quick recurrence.
What’s the difference between a rust remover and a rust converter?
A rust remover dissolves oxidation to expose cleaner metal, and it typically needs rinsing/neutralizing and thorough drying afterward. A rust converter stabilizes remaining rust into a paintable layer, but it still needs the correct primer/topcoat system to hold up.
How often should underbody protection be checked or renewed?
At least seasonally, and more often in road-salt climates. Renew protection anywhere abrasion strips coverage—especially wheel wells, rocker edges, and underbody seams.















Leave a comment