DIY Miniature Kitchen Kit: Tools, Steps & Pro Tips
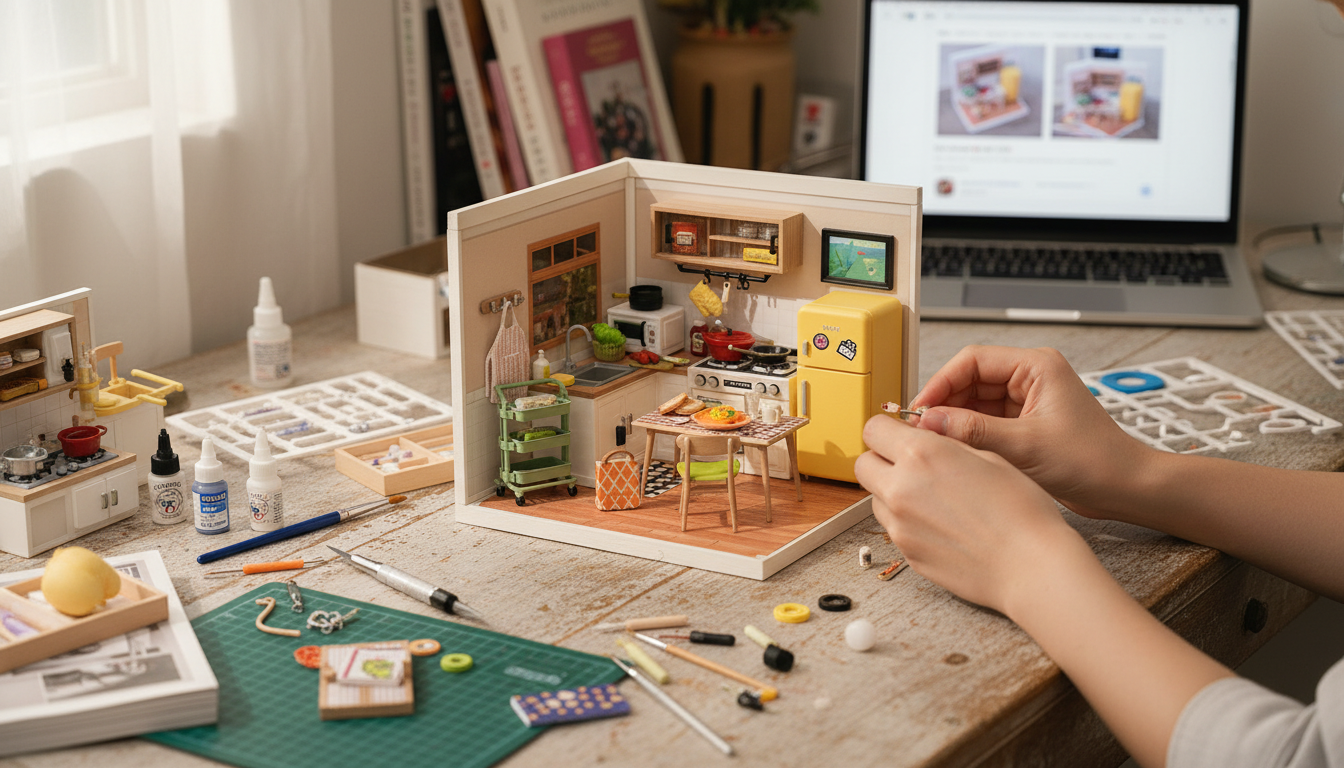
What makes a miniature kitchen kit satisfying to build
A DIY miniature kitchen feels rewarding because it delivers visible progress in a way that stays relaxing rather than overwhelming. Most kits are designed so you start with the “room shell” (floor and walls), then move into functional features like cabinets, counters, and shelving, and finally finish with the small décor touches that make the space look lived-in. For more guidance, see Here are the Top 10 Tools You Want When Building ….
That structure also leaves plenty of room for creativity. You can follow the printed textures and layouts exactly as intended—or treat the kit as a solid base for custom colors, different countertop finishes, or a slightly reworked arrangement. When it’s done, a finished kitchen diorama has real display value on a shelf, desk, or inside a glass cabinet, and it pairs nicely with other miniature rooms for a cohesive “tiny home” collection. For further reading, see Bramble Cottage – The Kitchen Design.
What’s typically included in a DIY miniature kitchen building kit
While details vary by brand, most DIY miniature kitchen building kits include a familiar set of components that cover structure, surfaces, and styling:
- Pre-cut parts (often wood or dense board) for floors, walls, cabinets, counters, and shelving
- Printed sheets or decals for tile, labels, packaging, framed art, or backsplash designs
- Mini accessories such as cookware, jars, dishware, plants, or food props (contents vary by kit)
- Basic wiring components in some versions (LEDs, battery box, and wire) if lighting is included
- Illustrated instructions with part references and a recommended build sequence
For anyone curious about how miniature rooms fit into a longer tradition of tiny interiors, the background on dollhouses and their history is a fun rabbit hole—especially if you enjoy collecting multiple scenes.
Tools and supplies that make assembly cleaner and faster
Most kits can be built with basic household tools, but a few small upgrades make the work noticeably neater—especially around tight joints and paper details.
- Adhesives: a fast-tack craft glue for porous parts plus a precision applicator (toothpicks or a fine-tip bottle) for tiny joints
- Cutting and shaping: hobby knife with spare blades, small scissors, fine sandpaper (around 400–800 grit)
- Handling: tweezers (straight and angled), clips or clothespins for holding parts while glue sets
- Finishing: acrylic paint for touch-ups, matte varnish (optional), cotton swabs for cleanup
- Work setup: a cutting mat, a small tray for tiny parts, and good lighting to reduce eye strain
Quick guide to adhesives for miniature kits
| Adhesive type | Best for | Pros | Watch-outs |
|---|---|---|---|
| PVA craft glue | Wood/paper parts, large surfaces | Dries clear, adjustable for a short time | Needs clamping/holding; can warp thin paper if overused |
| Tacky craft glue | Small joints, quick placement | Grabs faster than PVA | Stringing can happen; apply in tiny dots |
| Super glue (cyanoacrylate) | Hard-to-bond spots, quick repairs | Very fast set, strong bond | Can frost clear plastics; less forgiving alignment; use sparingly |
| Glue tape / double-sided tape | Paper décor, labels, lightweight accents | No wet mess, instant hold | Not ideal for weight-bearing parts |
A build sequence that keeps pieces aligned and square
Miniature rooms look “professional” when corners are crisp and cabinets sit flush. A steady sequence helps prevent tiny alignment errors that become obvious later.
- Prep and sort: Dry-fit major pieces, label small bags/parts, and lightly sand edges for tight joins.
- Base first: Assemble the floor and main walls, checking right angles so cabinets and counters sit flat later.
- Large fixtures next: Install counters, tall cabinets, shelves, and built-in units before adding décor.
- Surface details: Apply tile/backsplash prints, countertop textures, and trims after structural glue has cured.
- Mini accessories last: Place dishes, jars, plants, and props when you no longer need to press on walls and counters.
- Cure time: Let load-bearing joints dry longer (often overnight) so the room stays rigid over time.
Customization ideas that look realistic without advanced skills
Small, deliberate changes can make a kit look one-of-a-kind—without needing specialty tools.
Lighting and display upgrades (if the kit includes LEDs or you want to add them)
For safety and comfort, use glues and paints with good airflow. The EPA’s basics on ventilation and indoor air quality are a helpful reminder—especially when working with stronger adhesives. Finally, consider a clear display cover to reduce dusting and preserve paper elements and tiny props.
Troubleshooting common problems during assembly
Who it’s great for, and simple safety notes
Product picks: build + display upgrades
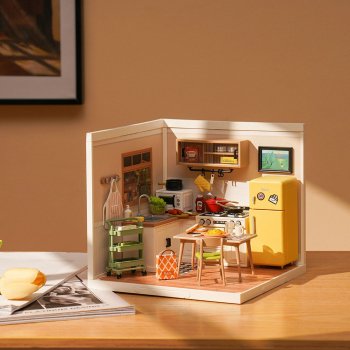
- DIY Miniature Kitchen Building Kit — A compact, display-friendly build designed for step-by-step assembly and easy personalization.
- Luxury Iridescent Shell Placemats – Handmade Nordic Round Decorative Tray — A stylish tray that can double as a protective display base under small décor setups or a crafting surface for sorting tiny parts.
FAQ
How long does a miniature kitchen kit usually take to finish?
Most builders finish in about 6–12 hours total, depending on experience and how detailed the kit is. Spreading the work across a few sessions also helps with alignment and reduces glue smears while parts cure.
What glue works best for miniature wooden parts and paper details?
PVA or tacky craft glue handles most wood and paper joints well when applied in thin amounts after a dry-fit. Super glue is best saved for quick repairs or tricky spots, while glue tape is great for lightweight paper labels and décor.
Can the finished miniature kitchen be stored or moved safely?
Let the build cure overnight before moving it, then secure any loose props and consider a clear case to limit dust and shifting. For transport, use a snug box with soft padding around the sides (not pressed onto delicate details) to prevent breakage.











Leave a comment